

I like making my own Christmas Crackers!
I like being able to get the colour that I want to match the rest of the table as I rarely got for the traditional colours. I also like to be able to pop my own "surprises" in the crackers instead of getting a piece of plastic rubbish that just get trashed immediately.
Some years I get excited and go all out with my crackers- other years, its pretty basic and laid back.

Over the years I have developed some short cuts (and long cuts) for making crackers and thought I would share them with you.
Here's what I do...

This year I am going for a lavender and mint colour scheme and I can not find any crackers in those colours. I thought about white or silver for a while and then when I looked through the various papers I had in my craft room - and I found the lavender!

The white Fleur-de-lys pattern actually came from the wrapping from a bunch of flowers that I had saved. I cut the plastic up into strips that happened to fit very well onto the cracker bases and taped them at the back with sticky tape. The pearly bits are just pearlised white paint dobbed onto the plastic and left to dry. I painted them once the cracker was almost finished as it was easier to stabilise the cracker than paint the pieces of loose plastic.

I used cracker bases this year from Spotlight - $2 for 10 - but have used toilet rolls and paper towel rolls in the past as well. The Spotlight ones are bigger so if you want to put a bigger gift in them, then this is the way to go. I usually make the cracker to this point before I stuff it. Its much easier to tie one end closed with the insides resting on the tied bit than to wrestle the ties on and keep the gift inside.

Before I stuff the cracker - I put the "snap" inside. Thread it from the already tied end (much easier to get it through the hole) and then pop a small piece of tape on one end to hold it in place on the open end. Then you can slide the gifts inside without loosing the snap out the other end. I got these snaps for $2 for 10 at Spotlight as well - have a look in the Christmas section.

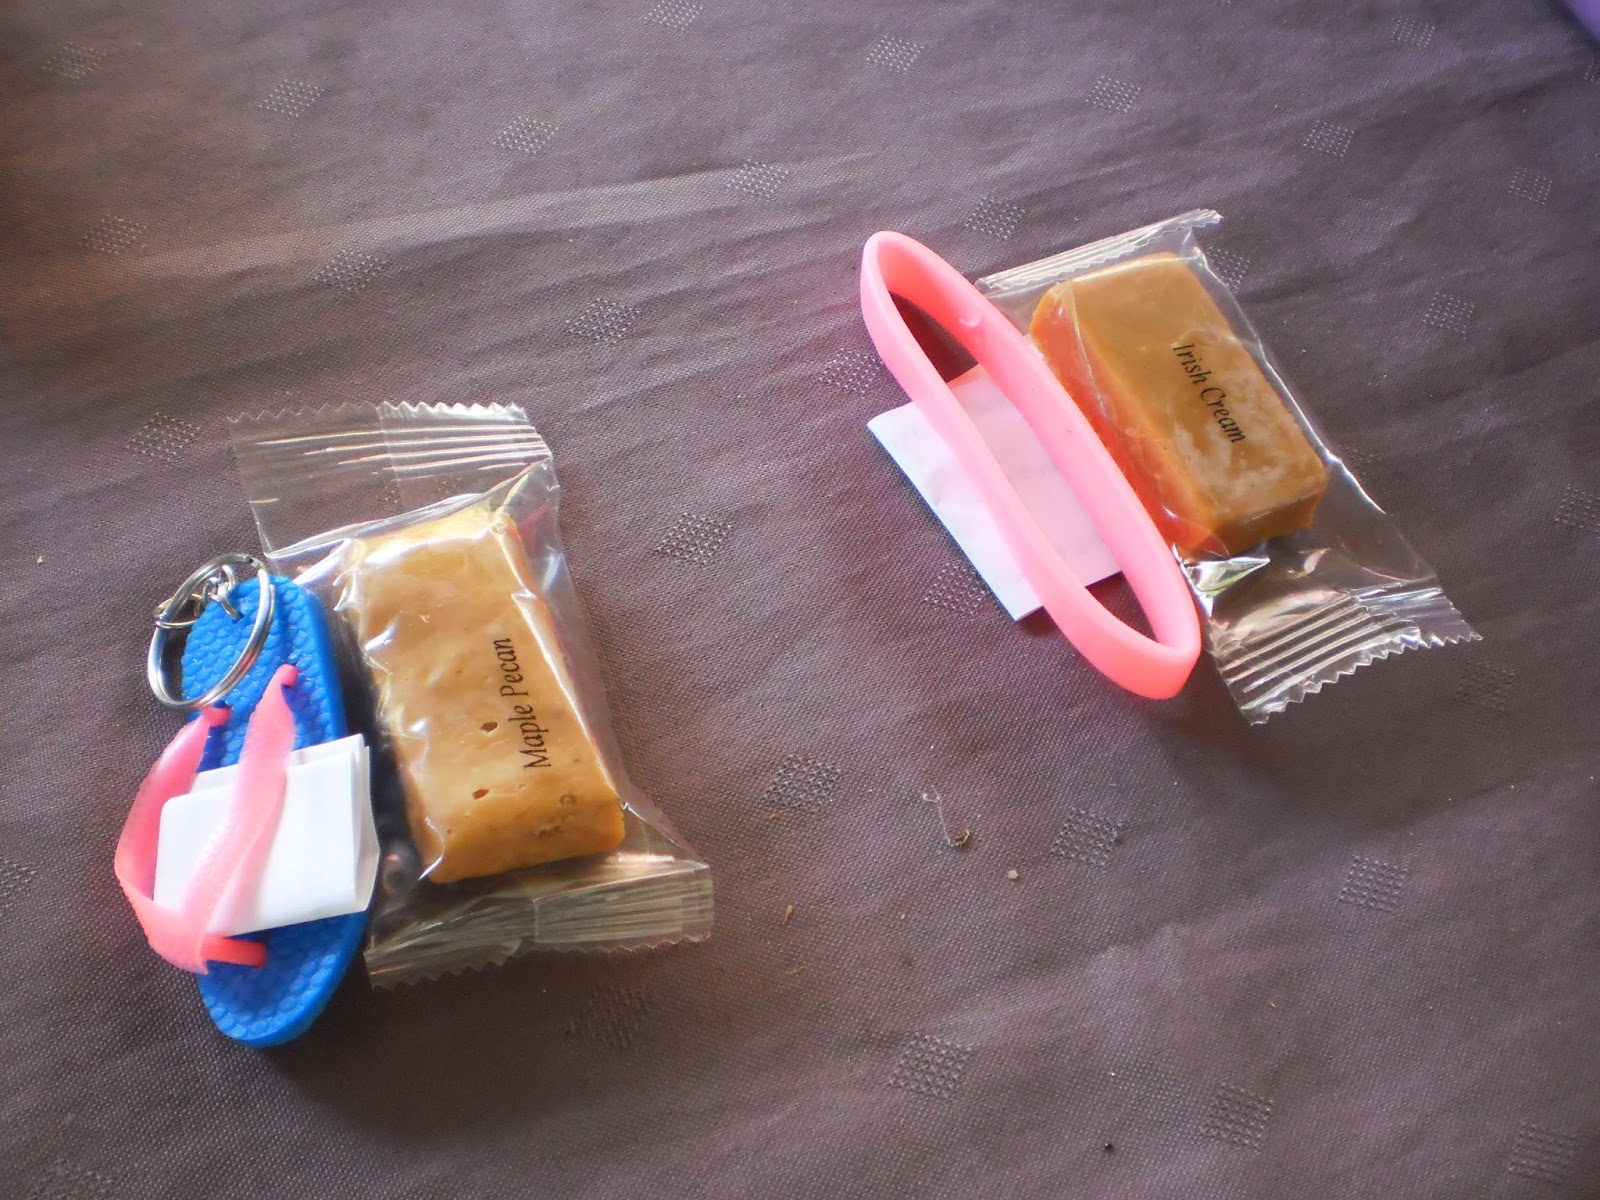
I like to pop lollies in with my crackers. I find that chocolates melts in our Christmas heat and can ruin the cracker if the temperature get too high. I also now use wrapped lollies, as when the cracker gets pulled, the contents can go any where - including the floor! I found wrapped fudge in a variety of flavours at my local Woolies. These were 10 for $5

This year I have "Thong" key rings and those plastic bracelets with Christmas messages on them - Love, Joy, Peace etc. I also popped in a couple of Christmas wine glass identifiers for the more mature members of the group and some Christmas bubbles to blow for the less than mature members of our table! Have a look in the party section of the Cheapy shops for party favours that suit what you are trying to do that year.
I have a neighbour who know the most wonderful jokes and has a great source of really good Christmas themed jokes that he supplies me with each year. I just print them out and cut them up into sets of three, fold then up and add them to the bits to go inside the cracker.

One year I found a supply of snowflake pocket watch necklaces on e-bay that I managed to pick up for 99c to $2.50 each (by being online each day and haunting the sellers site and swooping in at the last second to add a few cents to the last bidders price. Somewhere in China is someone who never want to see my e-bay name again - I bought 15 of them all up over 2 months... with free postage too!)

If you wanted to get very professional, you can use a rubber band to hold all the items together before you drop them into the cracker.

When you have added all the bits that you want to put inside and you have tied up the ends, store them in a place where they wont get crushed. I have a basket that happens to fit mine in perfectly. Mine are never as robust as the shop ones as mine are made of paper on the outside, not cardboard like the shop bought ones.

This year I am not putting my Christmas hats in the crackers... Why? Simply because I can not find any to buy in my city! I have tried making them out of tissue paper in the past and it hasn't been so successful so when a neighbour suggested cone hats on the table - my problem was solved. The hats will now form part of the table settings and be a bit more robust and possibly used next year as well...
I'm not so enamoured by the red on these hats and are considering covering them with mint or lavender trees, if I can find them! (How hard can that be after all??)
Try putting "home made crackers" or Bon-bons into a search engine set to images and see what comes up if you are low on inspiration. I have a post on making crackers from scratch that might get your creative juices flowing too!
Could be a great project for the kids to get stuck into over the holidays if you want totally unique handmade crackers for your table!
Score card:
Green-ness: If you made these from materials that you had or saved - its probably quite green but as it all ends up in land fill anyway... maybe not so green after all.
Frugal-ness: This is not a frugal way to put crackers on the table at all!
Time cost: Fair bit of time - maybe only an hour to make an assemble 20 - if you have the gifts, lollies and hats ready to roll that is!
Skill level: Cutting and pasting - I don't have the patience for anything to fancy!
Fun-ness: Great fun to make and have them match what you are trying to do!
I like being able to get the colour that I want to match the rest of the table as I rarely got for the traditional colours. I also like to be able to pop my own "surprises" in the crackers instead of getting a piece of plastic rubbish that just get trashed immediately.
Some years I get excited and go all out with my crackers- other years, its pretty basic and laid back.

Over the years I have developed some short cuts (and long cuts) for making crackers and thought I would share them with you.
Here's what I do...

This year I am going for a lavender and mint colour scheme and I can not find any crackers in those colours. I thought about white or silver for a while and then when I looked through the various papers I had in my craft room - and I found the lavender!

The white Fleur-de-lys pattern actually came from the wrapping from a bunch of flowers that I had saved. I cut the plastic up into strips that happened to fit very well onto the cracker bases and taped them at the back with sticky tape. The pearly bits are just pearlised white paint dobbed onto the plastic and left to dry. I painted them once the cracker was almost finished as it was easier to stabilise the cracker than paint the pieces of loose plastic.

I used cracker bases this year from Spotlight - $2 for 10 - but have used toilet rolls and paper towel rolls in the past as well. The Spotlight ones are bigger so if you want to put a bigger gift in them, then this is the way to go. I usually make the cracker to this point before I stuff it. Its much easier to tie one end closed with the insides resting on the tied bit than to wrestle the ties on and keep the gift inside.

Before I stuff the cracker - I put the "snap" inside. Thread it from the already tied end (much easier to get it through the hole) and then pop a small piece of tape on one end to hold it in place on the open end. Then you can slide the gifts inside without loosing the snap out the other end. I got these snaps for $2 for 10 at Spotlight as well - have a look in the Christmas section.

I like to pop lollies in with my crackers. I find that chocolates melts in our Christmas heat and can ruin the cracker if the temperature get too high. I also now use wrapped lollies, as when the cracker gets pulled, the contents can go any where - including the floor! I found wrapped fudge in a variety of flavours at my local Woolies. These were 10 for $5
This year I have "Thong" key rings and those plastic bracelets with Christmas messages on them - Love, Joy, Peace etc. I also popped in a couple of Christmas wine glass identifiers for the more mature members of the group and some Christmas bubbles to blow for the less than mature members of our table! Have a look in the party section of the Cheapy shops for party favours that suit what you are trying to do that year.
I have a neighbour who know the most wonderful jokes and has a great source of really good Christmas themed jokes that he supplies me with each year. I just print them out and cut them up into sets of three, fold then up and add them to the bits to go inside the cracker.

One year I found a supply of snowflake pocket watch necklaces on e-bay that I managed to pick up for 99c to $2.50 each (by being online each day and haunting the sellers site and swooping in at the last second to add a few cents to the last bidders price. Somewhere in China is someone who never want to see my e-bay name again - I bought 15 of them all up over 2 months... with free postage too!)

If you wanted to get very professional, you can use a rubber band to hold all the items together before you drop them into the cracker.

When you have added all the bits that you want to put inside and you have tied up the ends, store them in a place where they wont get crushed. I have a basket that happens to fit mine in perfectly. Mine are never as robust as the shop ones as mine are made of paper on the outside, not cardboard like the shop bought ones.

This year I am not putting my Christmas hats in the crackers... Why? Simply because I can not find any to buy in my city! I have tried making them out of tissue paper in the past and it hasn't been so successful so when a neighbour suggested cone hats on the table - my problem was solved. The hats will now form part of the table settings and be a bit more robust and possibly used next year as well...
I'm not so enamoured by the red on these hats and are considering covering them with mint or lavender trees, if I can find them! (How hard can that be after all??)
Try putting "home made crackers" or Bon-bons into a search engine set to images and see what comes up if you are low on inspiration. I have a post on making crackers from scratch that might get your creative juices flowing too!
Could be a great project for the kids to get stuck into over the holidays if you want totally unique handmade crackers for your table!
Score card:
Green-ness: If you made these from materials that you had or saved - its probably quite green but as it all ends up in land fill anyway... maybe not so green after all.
Frugal-ness: This is not a frugal way to put crackers on the table at all!
Time cost: Fair bit of time - maybe only an hour to make an assemble 20 - if you have the gifts, lollies and hats ready to roll that is!
Skill level: Cutting and pasting - I don't have the patience for anything to fancy!
Fun-ness: Great fun to make and have them match what you are trying to do!
Comments